Before repairing a leaky faucet, identify the problem (seal/washer issues, aerator damage, faulty lines). Gather tools and materials for DIY tap repair, understanding plumbing basics. Disassemble the faucet to access components, seeking guidance if needed. Replace worn O-rings or washers inside the cartridge or stem to stop leaks. Reassemble, test, and address complex issues with a tap repair professional. Regular maintenance prevents corrosion and future costly repairs.
Fixing a leaky faucet isn’t as daunting as it seems. With the right tools and a few simple steps, you can turn into your own tap repair professional. This comprehensive guide takes you through the process from start to finish, covering everything from assessing the leak’s source to reassembling and testing your newly fixed faucet. No more excessive water bills or unsightly drips!
- Assess and Identify the Leaky Faucet's Source
- Gather Essential Tools and Materials
- Disassemble the Faucet to Access the Damaged Parts
- Replace O-Rings or Washers for a Seal
- Reassemble, Test, and Adjust for Leakage Prevention
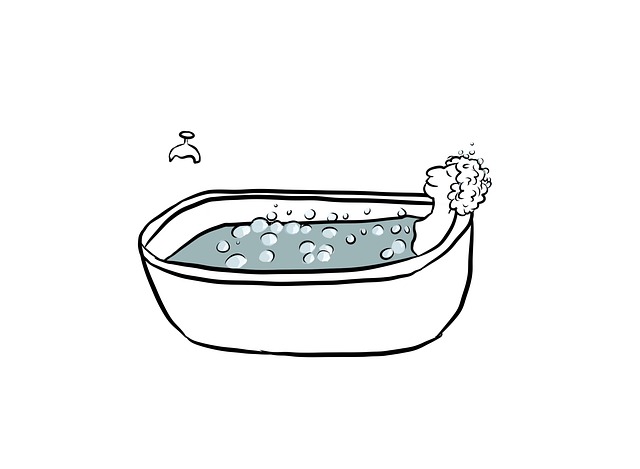
Assess and Identify the Leaky Faucet's Source

Before diving into the repair process, it’s crucial to assess and identify the source of the leak. Start by observing the faucet closely – is the leak coming from the base, handle, or spout? A steady drip often indicates a seal or washer issue, while a more sporadic spray could point to a damaged aerator or even a faulty water supply line. If the taps are not working properly, don’t panic; many leaks can be easily fixed by a local tap mender rather than requiring professional boiler repair services.
By identifying the specific problem area, you’ll have a better understanding of what parts need replacing. This knowledge will make your repair process more efficient and might even save you money by avoiding unnecessary purchases or complicated procedures. Remember, a little troubleshooting can go a long way in fixing a leaky faucet yourself.
Gather Essential Tools and Materials
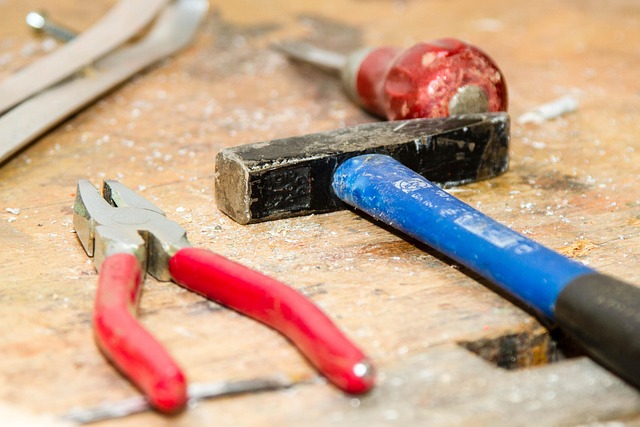
Before tackling any tap repair, it’s crucial to gather all the essential tools and materials required for the job. This includes a set of adjustable wrenches or pliers, which are often necessary for disassembling the faucet parts; a new washer and O-ring (or a kit containing these), which are the most common components that need replacing; and some plumbing tape or pipe compound to ensure a secure seal after the repair. Additionally, having a tap disassembly guide or an online tap maintenance checklist can be invaluable for navigating this process with ease.
For a successful DIY tap repair, consider taking stock of your home’s plumbing system. While it might seem like a simple task, each faucet has its unique components and assembly, so understanding the layout beforehand saves time and effort. Moreover, having the right tap repair tools needed ensures that you can complete the job effectively without seeking professional assistance for minor leaks.
Disassemble the Faucet to Access the Damaged Parts
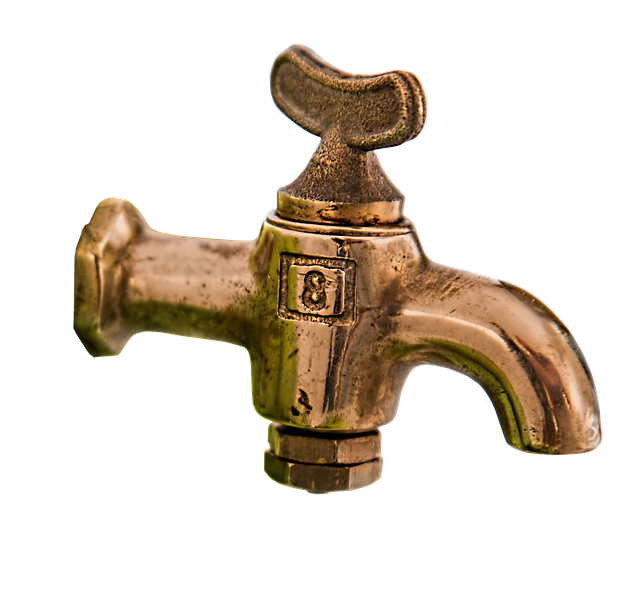
When tackling a leaky faucet yourself, one of the initial steps is disassembling the fixture to access and assess the damaged parts. This process varies slightly depending on the type of faucet, but many share common components that can be easily broken down. Start by turning off the water supply valves located under the sink or countertop, as this prevents any accidental leaks during disassembly. Then, using a screwdriver, carefully remove the handle and any decorative covers to expose the internal mechanism.
For a standard faucet, you’ll typically uncover the cartridge or washer assembly—these are common sources of leaks. A local tap mender can guide you on specific maintenance tips tailored to your faucet model if you’re unsure about disassembly procedures. By breaking down the faucet in this way, you gain access to these components and can identify whether a simple replacement or repair is all that’s needed to stop that leaky tap, ultimately saving you time and money.
Replace O-Rings or Washers for a Seal
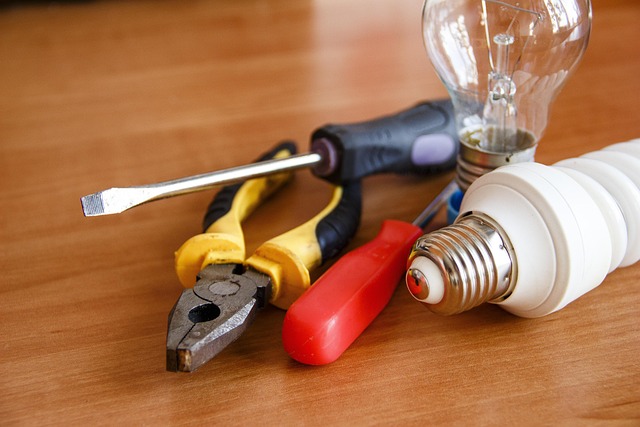
One common cause of leaky faucets is worn-out O-rings or washers inside the faucet’s cartridge or stem. These components are responsible for creating a seal, preventing water from escaping. Over time, they can degenerate due to friction and pressure, leading to leaks. To replace them, you’ll need to disassemble the faucet, usually by rotating the handle counterclockwise to remove it. Once exposed, locate the damaged O-ring or washer, which is typically a small, rubbery part. Remove the old one and install a new one that matches its size. Ensure a tight fit to avoid future leaks.
This simple tap repair can be a game-changer in preventing tap corrosion and the subsequent causes of tap leaks. If you’re comfortable with DIY repairs, this could save you time and money, especially if you live far from a plumber Bromsgrove. Plus, it’s an effective way to keep your faucets in top condition and maintain a steady flow without any unwanted drips or spills.
Reassemble, Test, and Adjust for Leakage Prevention

After disassembling the faucet, carefully reassemble all parts, ensuring every connection is secure. Test the faucet by turning on the water supply and observing if any leaks persist. If there are still drips or continuous flow, adjust the tightening of the connections, especially around the stem and cartridge (if applicable).
A professional tap repair often involves identifying and addressing specific issues like worn-out O-rings or damaged parts. The right tools, such as adjustable wrenches, pliers, and replacement parts, are crucial for a successful and long-lasting fix. By regularly maintaining and promptly repairing any leaks, you can prevent tap corrosion and ensure the longevity of your faucet, saving you from more costly repairs in the future.
Fixing a leaky faucet isn’t as daunting as it seems. By following these simple steps, from assessing the source of the leak to reassembling and testing your repairs, you can save money and avoid calling a professional tap repair service. With a bit of patience and the right tools, you’ll have a drip-free faucet in no time.